Hi,
You're receiving this email because {name} thinks the How to make and install pillars for the Tikka rifle (Part 3 of Tikka rifle accuracy series) would interest you.
Length 21min.
Note, please read the purchasing and downloading instructions (bottom of page) before placing your order!
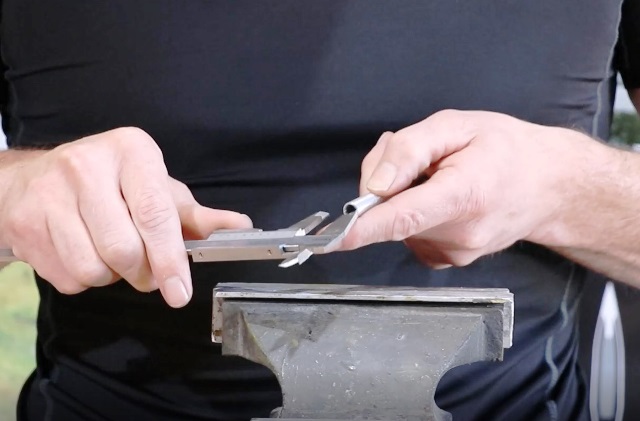
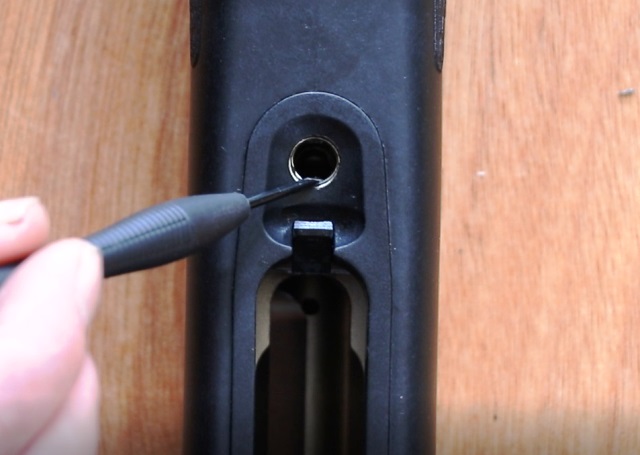
In this video, we look at how to make and install protruding pillars for the Tikka T3.
The method utilized in this video applies to anyone who wishes to bed the Tikka rifle utilizing the factory plastic trigger guard. The goal of this method is to allow for experimentation with high action screw torque settings to further enchance the stability and accuracy of the T3 platform. The methods shown can be utilized by gunsmiths but is specifically directed toward novices in a DIY setting with limited tools (no lathe).
This video can also be used as a general how-to with regards to making pillars for the 'general rifle'. It includes information on why we use pillars and the effects of various methods, before delving into how to make and fit them. This ensures that the viewer fully understands both theory and practice.
Please note:
If using Ali after market bottom metal - this eliminates the need for protruding pillars. However, this video can still be used to make flush pillars (also described along with measurements).
If you have a Bell and Carlson stock - be aware that although the B&C stock is very strong, the Tikka plastic floor plate can pose as a weak link. The B&C can either be drilled out and fitted with more appropriate pillars or in lieu of this, lower torque settings should be used (see first video- set up and break in).
The Tikka T3 series includes:
1. Set up, barrel break in and test shoot of factory rifle including vital aspects of technique in order to obtain accurate test results.
2. Stabilizing the forend in preparation for bedding.
3. Making pillars (
This video) uniquely suited to the T3 design in a DIY setting. Again in preparation for bedding.
4. Bedding - Stock and action prep through to clean up and basic test shoot.


Purchasing instructions:
(Updated 31/1/2022)
Due to the fact that this is a downloadable product, we ask that you please do not share it. The funds from this video help to support our family along with our ongoing research.
1.To place your order, click add to cart and proceed to and through the checkout.
2. After check out, you will immediately receive two automated emails. The first is your order confirmation. The second email contains a link to a downloadable PDF.
3. Download and save the PDF as it contains the link and password to your video.
4. The link (within the PDF) will redirect you to where the video is hosted at vimeo.com. You will need to enter the password (from the PDF) to access the video. From there, you can either watch or download the video.
Troubleshooting:
If you do not receive an order confirmation email or the download link email, these may be in your email spam folder. Therefore, please check your spam folder if you do not receive any order confirmation or links. It may also be possible that you entered an incorrect email address (a typo) when placing your order (if so, please contact us for help).
For more information, please click
Here
Regards,